| Theories and Techniques of Oral Implantology (vol.2) (published 1970) | Dr. Leonard I. Linkow |
|
|
Next Page |
| This is an archival HTML version of this book originally hosted here in 2006. The HTML may not display well on modern browsers. Please view the modern PDF Version for a better viewing experience. |
444 Theories and techniques of oral implantology
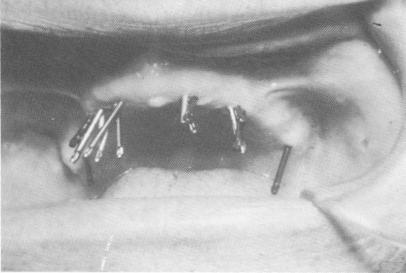
Fig. 10-218. Pins were driven in various directions through the soft tissue and into the bone.
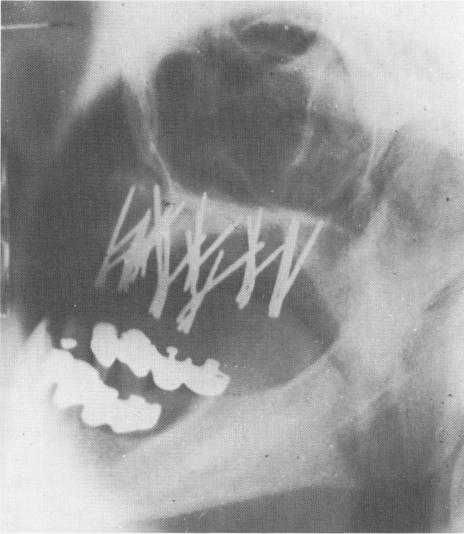
Fig. 10-217. A postoperative lateral plate roentgenogram shows the eight sections of triplants in position. (Courtesy I. Lew.)
The pins were then bent so that their ends were parallel with one another, and the excess length was cut away (Fig. 10-215). Teflon cylinders, each containing three parallel holes, were then filled with acrylic and placed over the pins to lock them together as individual tripods (Fig. 10-216). The denture was then fitted into position and a post-operative radiograph taken (Fig. 10-217).
The case rapidly failed for a number of reasons that still prove valid. Triplants do not hold up, especially where no teeth or post implants are present to support them. Nothing sticks to Teflon, and therefore the pins loosened. The series of triplants also should have been supported by a full arch connecting bar to reduce the buccolingual movements of the implants.
Case 23
A full arch splint for the edentulous maxilla using triplants with acrylic cores
Attempting to prolong the duration of a restoration supported only by triplants, numerous variations were tried : The implant pins were made longer so
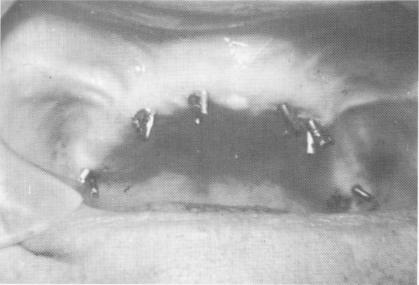
Fig. 10-219. All excess length of the pins was disked away.
that they could be driven deeper into the bone and made more divergent from each other. Broader angulation of the protruding pin heads and fastening of the pin heads with acrylic resin, eliminating the Teflon, was accomplished. Here the ends of the pins, instead of being bent parallel to each other, were left extended in their diverging positions (Fig. 10-218).
The pins were then notched and cut short so that there would be no occlusal interferences (Fig. 10-219). Using the brush-on technique the pins were securely locked with one another with acrylic liquid and powder. After hardening, the acrylic cores were prepared for full crown restorations (Fig. 10-220). A full arch splint fabricated with all acrylic-overgold thimbles was then cemented over the prepared acrylic cores (Fig. 10-221). Radiographs reveal the finished case (Fig. 10-222). This case, and others done in this manner, lasted a few months longer than those done using the method presented in Case 22. However, none of the cases exceeded 14 months' duration. By that time the pins had loosened substantially enough to warrant removal of the entire
|
|
Page 444 |
Next Page |
|
Copyright warning: This information is presented here for free for anyone to study online. We own exclusive internet copyrights on all content presented on this website. We use sophisticated technology to identify and legally close down websites that reproduce copyrighted content without permission - so please don’t do it.
|