| Theories and Techniques of Oral Implantology (vol.1) (published 1970) | Dr. Leonard I. Linkow |
|
|
Next Page |
| This is an archival HTML version of this book originally hosted here in 2006. The HTML may not display well on modern browsers. Please view the modern PDF Version for a better viewing experience. |
268 Theories and techniques of oral implantology
matter what type of implant is inserted, heating the bone should be avoided. Heat kills bone cells and thus increases the zone of bone resorption.
Sometimes when working in the tuberosity area and while trying to angle a pin in an anterior or mesial direction, there just is not enough room for
the contra-angle, entering chuck, and pin implant. Therefore other tools should be substituted. A pedoheaded contra-angle with a pedosized chuck is substituted. The pin implant is cut in half and the head of the sharp pointed lower half inserted in the chuck. After this shortened pin has been drilled in, it is
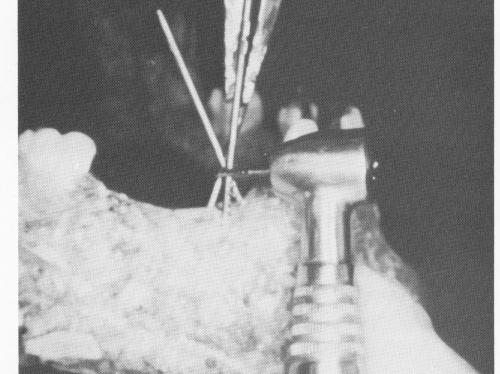
Fig. 7-24. The excess length of each pin is cut with a fissure bur while holding each pin with pliers.
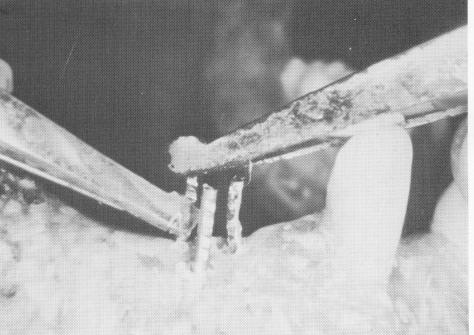
Fig. 7-25. Bending the head of the pin.
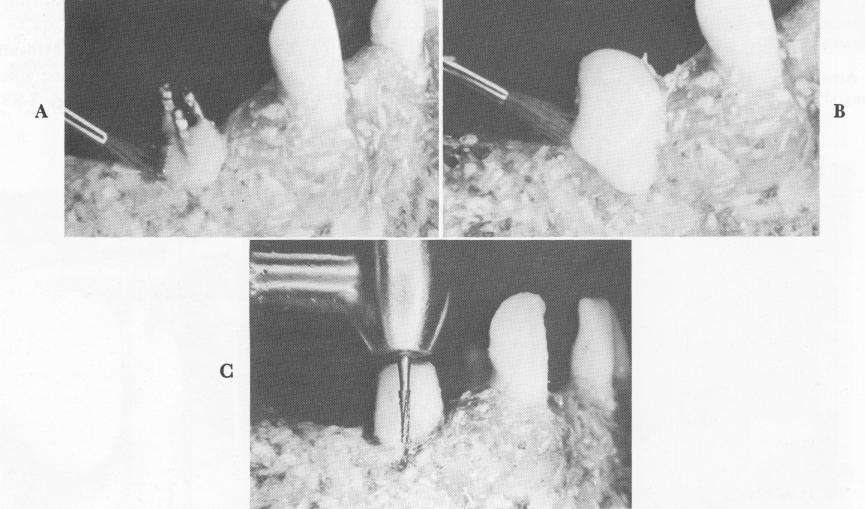
Fig. 7-26. Building the acrylic resin core. A, The acrylic is applied first to the base of the pins with the brush-on technique. B, The acrylic is gradually built up layer by layer until all the pins are trapped in the overbuilt core. C, When the core has hardened, it is trimmed for a tooth preparation.
|
|
Page 268 |
Next Page |
|
Copyright warning: This information is presented here for free for anyone to study online. We own exclusive internet copyrights on all content presented on this website. We use sophisticated technology to identify and legally close down websites that reproduce copyrighted content without permission - so please don’t do it.
|