| Theories and Techniques of Oral Implantology (vol.1) (published 1970) | Dr. Leonard I. Linkow |
|
|
Next Page |
| This is an archival HTML version of this book originally hosted here in 2006. The HTML may not display well on modern browsers. Please view the modern PDF Version for a better viewing experience. |
Operative tips 271
to engage the post of the blade in order to control its direction while it is being tapped into the bone (Fig. 7-30). A plastic-headed mallet is recommended for tapping procedures.
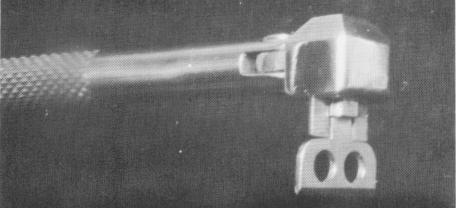
To carry the blade to the prepared groove and seat it there, either a lock screw or a rubber washer is used to engage the implant's head in the inserting instrument (Fig. 7-31). This device is particularly handy in reaching posterior sites, especially because the instrument is bent appropriately (Fig. 7-32).
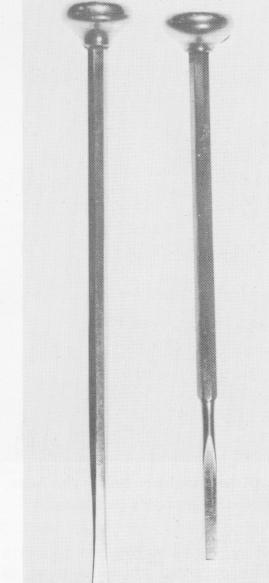
Once the blade is in its groove, two specially prepared chisels are used to tap it deep into bone. These chisels adapt to the shoulders of the blade
Fig. 7-32. Inserting instrument swivelled for easier accessibility.
Fig. 7-33. Grooved and straight chisels used for tapping a blade into bone.
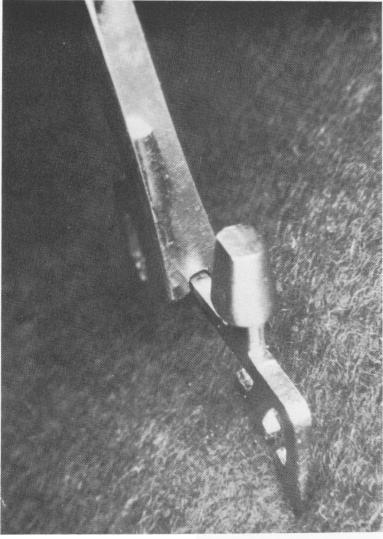
Fig. 7-34. The groove chisel is used to start tapping the blade implant into bone.
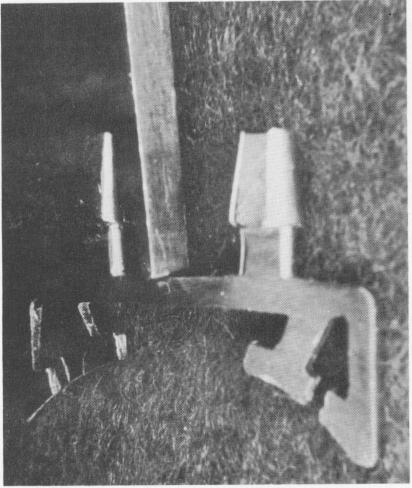
Fig. 7-35. When the bone is approached, the straight chisel is used to tap the shoulders level with bone.
|
|
Page 271 |
Next Page |
|
Copyright warning: This information is presented here for free for anyone to study online. We own exclusive internet copyrights on all content presented on this website. We use sophisticated technology to identify and legally close down websites that reproduce copyrighted content without permission - so please don’t do it.
|