| Theories and Techniques of Oral Implantology (vol.2) (published 1970) | Dr. Leonard I. Linkow |
|
|
Next Page |
| This is an archival HTML version of this book originally hosted here in 2006. The HTML may not display well on modern browsers. Please view the modern PDF Version for a better viewing experience. |
548 Theories and techniques of oral implantology
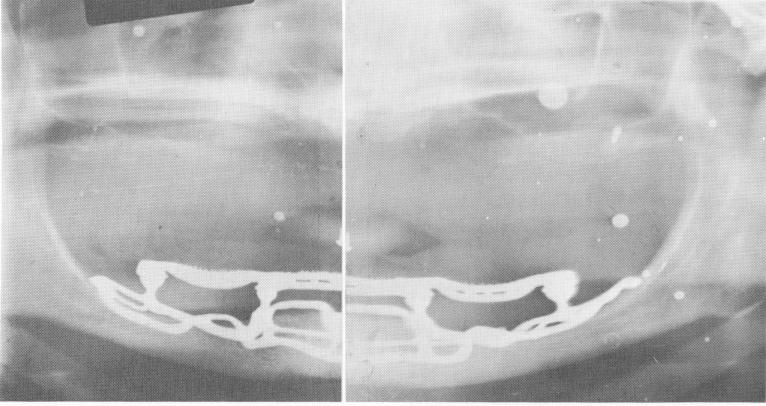
Fig. 12-40. A Panorex showing the close adaptation of the implant denture to the bone of a resorbed mandible.
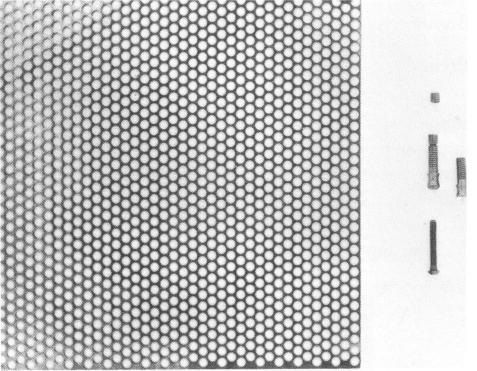
Fig. 12-41. The tantalum sheet used by Marziani for his specially designed subperiosteal implant.
to form the dental implant. The size and shape of the "cutout" are determined by evaluating radio-graphs and study models.
Four holes—parallel to one another and corresponding to the position of the abutments—are drilled perpendicularly into the stone model with the aid of a parallelometer. Steel pins are then inserted into these holes. The tantalum "cutout" is placed on the stone model, where it is fixated by means of the four protruding steel pins. The first shaping of the "cutout" is done by molding it to the previously prepared stone model. The heights of the abutment posts are established on the articulator
according to the amount of occlusal clearance de-sired when the jaws are in centric occlusion. The molded tantalum "cutout" is cleansed thoroughly with carbon tetrachloride and a 5% nitric acid solution and then sterilized.
A prefabricated tray of acrylic, in either one or two sections, is then prepared prior to incising the site for the bone impression.
Operative procedures
An incision is made along the crest of the ridge and the tissues are retracted, exposing the bone. Any bone leveling that might have to be accomplished is done at this time.
The molded tantalum "cutout" is then tried over the bone without the four abutments. Some modifications in its shape and size can be done at this time. The operator must be sure to relieve the implant in the area of both mental foramina. While the tantalum is in place over the bone, four notches 1 mm. deep are drilled in the bone to receive the screw heads. The meshwork is then re-moved.
With the prefabricated tray, a rubber base bone impression of the entire exposed mandible is taken. It is allowed to set in the mouth and is then re-moved. A model is poured into the impression with quick-setting stone.
When the stone has set, four parallel holes are drilled into the model using a parallelometer. These holes correspond to the notches made in the bone. Four steel pins with collars are then set into the
|
|
Page 548 |
Next Page |
|
Copyright warning: This information is presented here for free for anyone to study online. We own exclusive internet copyrights on all content presented on this website. We use sophisticated technology to identify and legally close down websites that reproduce copyrighted content without permission - so please don’t do it.
|