| Theories and Techniques of Oral Implantology (vol.2) (published 1970) | Dr. Leonard I. Linkow |
|
|
Next Page |
| This is an archival HTML version of this book originally hosted here in 2006. The HTML may not display well on modern browsers. Please view the modern PDF Version for a better viewing experience. |
474 Theories and techniques of oral implantology
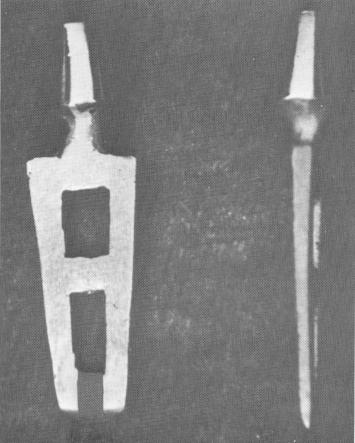
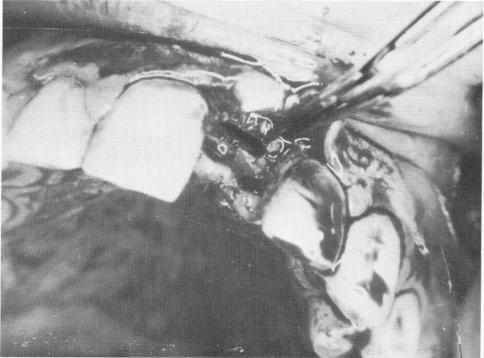
mucosal tissue was incised and reflected to expose the underlying bone, which was grooved with the No. 700L tapering fissure bur. Because the single tooth blade is much longer than usual (Fig. 11-28), the groove was made 9 to 10 mm. deep (Fig. 11-29). This was done so that only a small amount of force would be necessary to tap the implant to its proper depth. The blade was then carefully tapped into position (Fig. 11-30). After the tissue had completely healed, an impression for the crown was taken with elastic.
During the waiting period from implant insertion to crown cementation, the patient wore a temporary acrylic jacket. The crown was fabricated with lingual gold rest seats (Fig. 11-31) and cemented into position (Fig. 11-32). A postoper
ative x-ray shows the implant and crown braced against the lingual surfaces of the neighboring teeth by the gold rest seat (Fig. 11-33) .
Case 2
A unilateral mandibular restoration
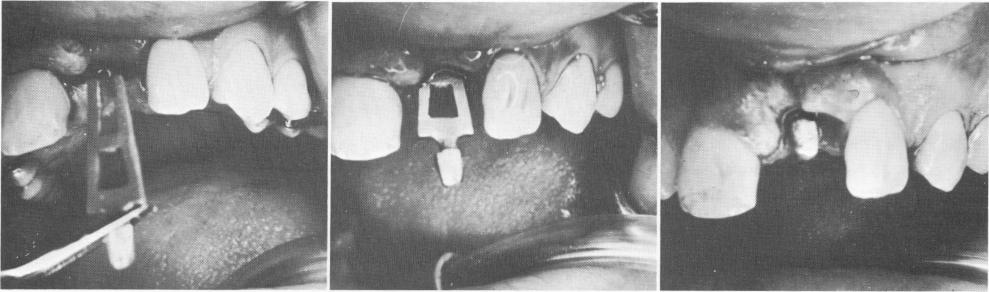
The following sample case is typical of unilateral restorations using a single blade-vent. The area was first x-rayed to diagnose the feasibility of using an endosseous implant and to choose an appropriate implant. Then the anterior tooth that was to be used as the abutment was prepared for a full crown preparation. The casting was then fitted at the next visit (Fig. 11-34).
The implantation procedure began by incising the fibromucosal tissue over the implant site. (The
Fig. 11-28. A facial and profile view of the single tooth blade. Note length.
Fig. 11-29. A deep groove is made in the bone.
Fig. 11-30. Inserting the implant.
|
|
Page 474 |
Next Page |
|
Copyright warning: This information is presented here for free for anyone to study online. We own exclusive internet copyrights on all content presented on this website. We use sophisticated technology to identify and legally close down websites that reproduce copyrighted content without permission - so please don’t do it.
|